This is one overbuilt Corsi-Rosenthal air filter box
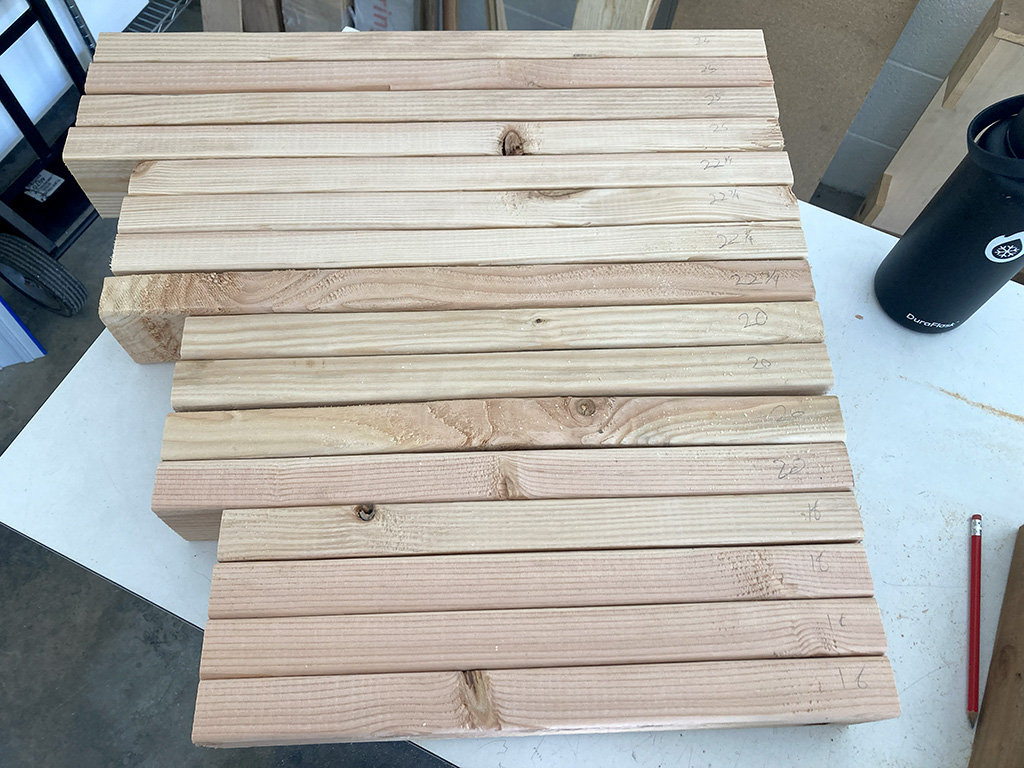
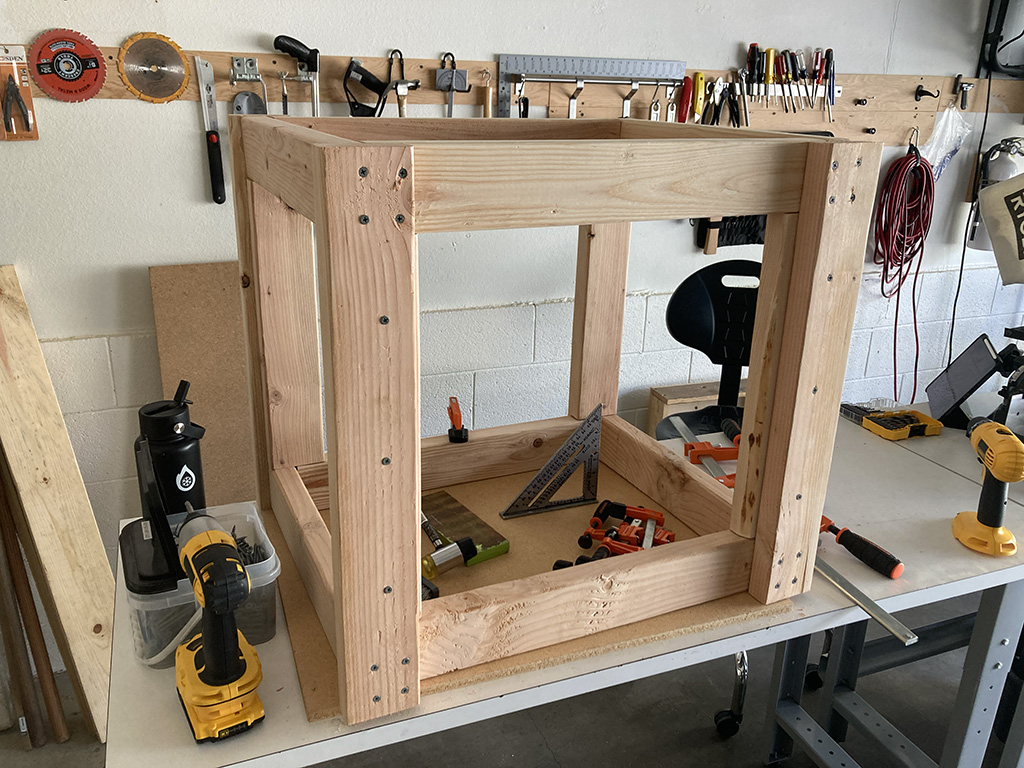
After a bunch of design and planning out the cuts, I had most of a Sunday to work on cutting lumber and assembling my Corsi-Rosenthal box. I started with the miter saw and the 2x4s since that was the least-familiar material to me. I did a little bit of planning to try to minimize waste on the 8-foot lengths of lumber and feel like I did pretty well. I only had a few 1-2 in blocks and one ~13-inch length left over.
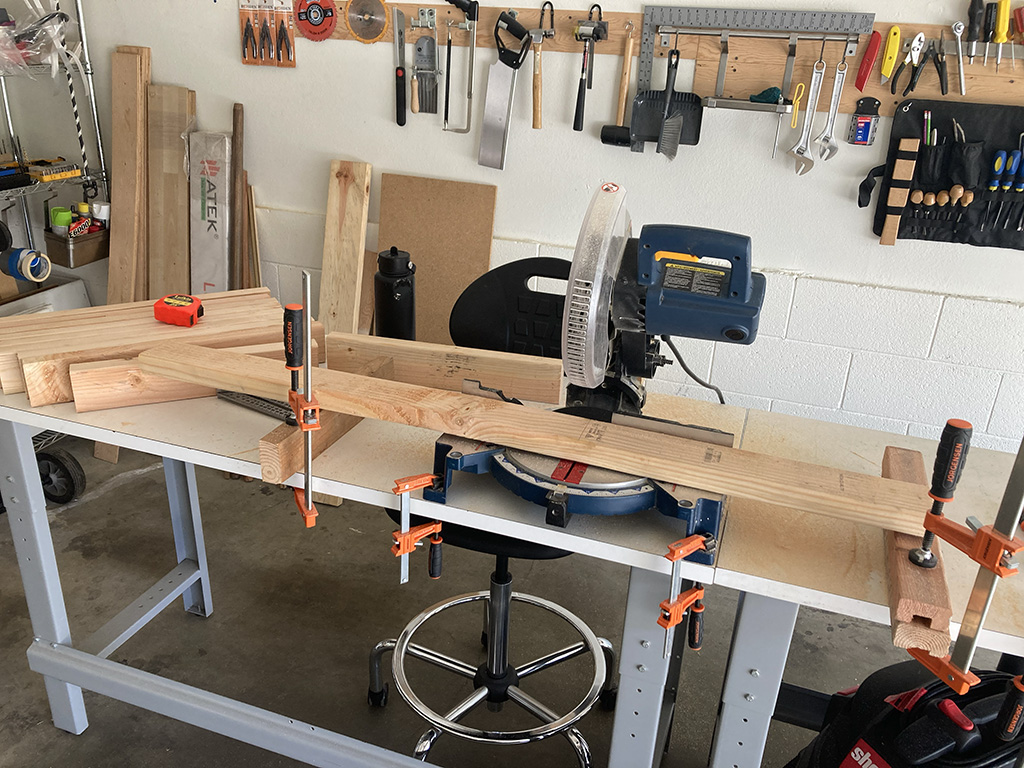
Since the 2x4s were inexpensive and intended to be studs in a wall, the finish was not especially nice. I sanded the cut pieces with my electric sander and 80-grit sandpaper, which was enough to make handling the pieces quite a bit more comfortable.
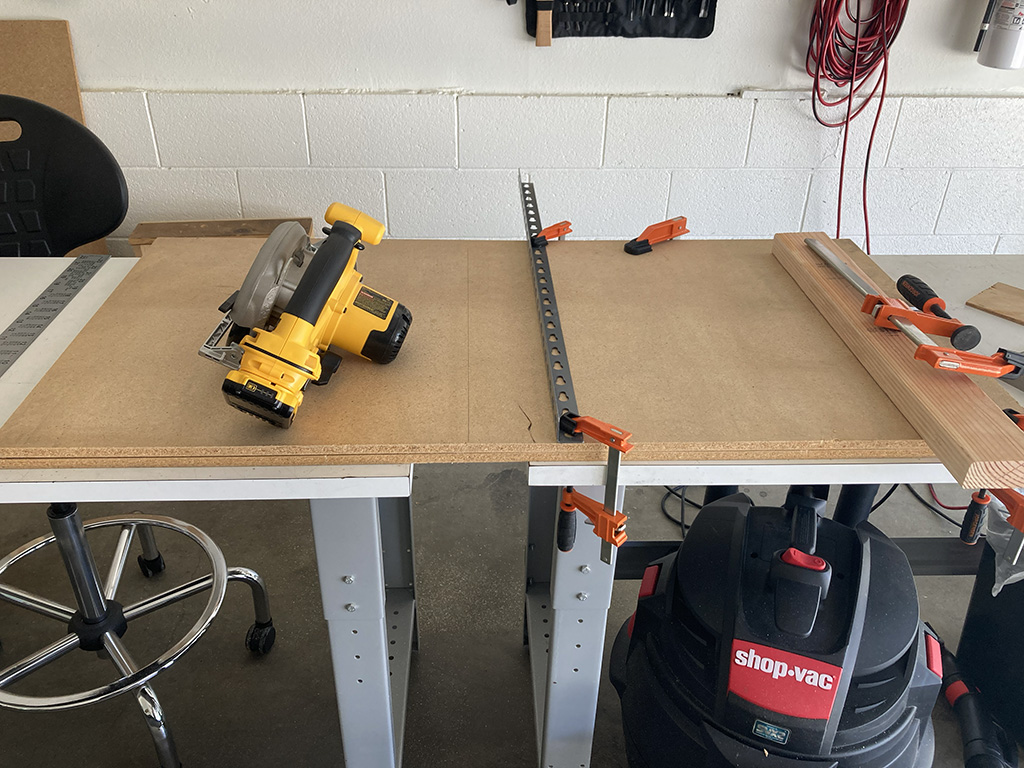
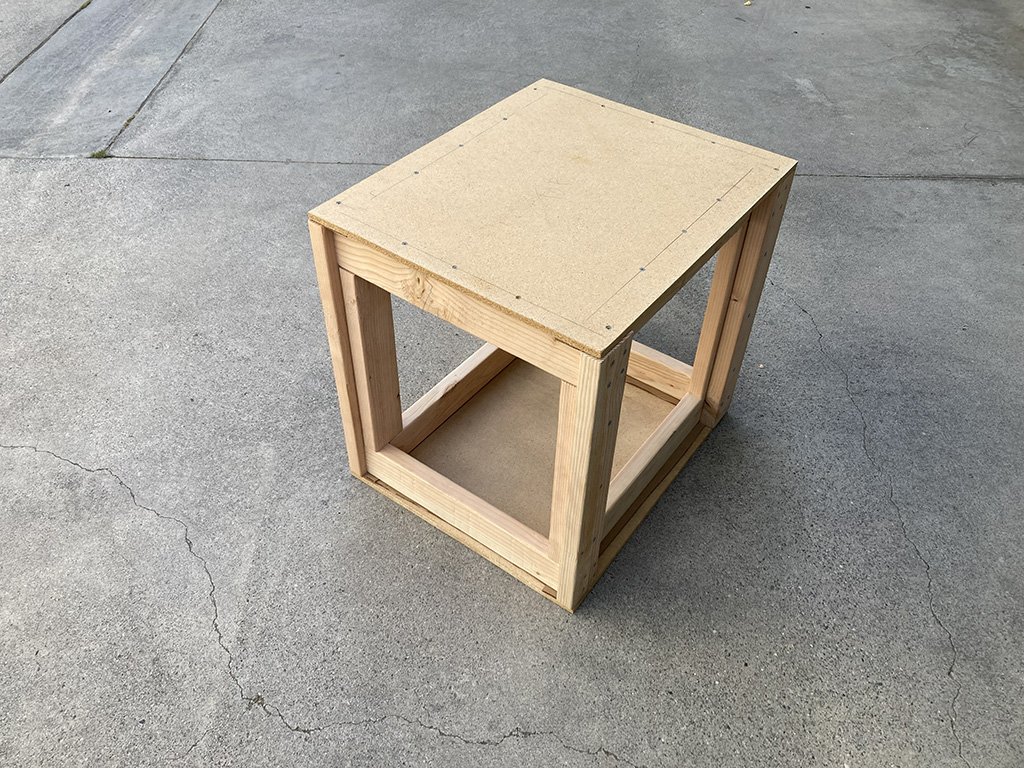
The next cuts I needed were for the top and bottom sheets. I thought I had some 5/8-inch plywood that would work, but it was too narrow for my design, so I had to use 1/2-inch particle board that was a shelf in its former life. This ended up being somewhat difficult because I still haven’t developed enough skill with my circular saw to execute a decently long cut. The first 27-inch cut was square enough, but I ended up flexing my guide when making the 23-inch cut and lost almost an inch on the cut. Fortunately, my design had generous tolerances and the off-square plates didn’t cause a problem.
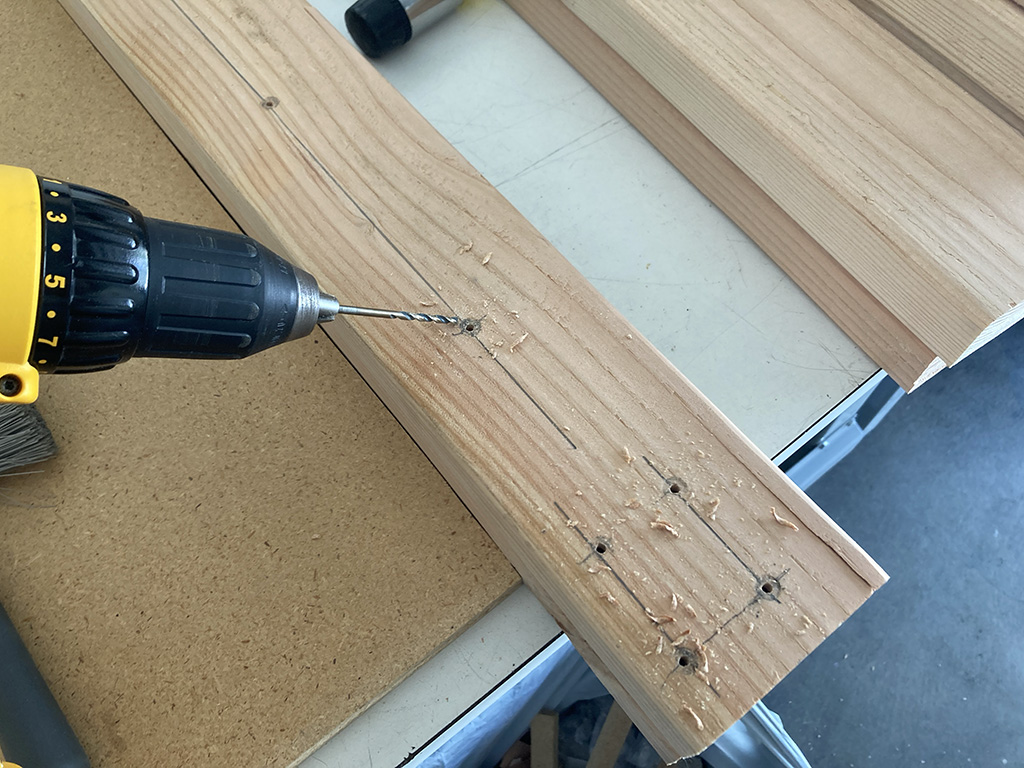
I had the most fun assembling the pieces. Marking out the screw holes and drilling was satisfying, as was seeing the box take shape. I did chew up my fingertips switching my battery pack between my drill and impact driver for drilling and driving 76 3-inch screws.
I screwed on the top and bottom sheets before I cut the 16-inch fan hole. Since the 2x4 structure was not perfectly flat, I used some cardboard as a compressed gasket between the 2x4 frame and the sheets. This should be adequate for the airflow I’m expecting–and if not, I can always tape or fill the seams.
I got some photos in the afternoon light to compare against my render, and then built a crude circle jig for my jigsaw. I have a big box of scrap wood and I found a board that was very roughly suited to the task. I used the jigsaw to cut a slot in one end, measured the radius of the circle (8 inches) and pounded a finishing nail through the board into the center point of the top sheet. I drilled a starter hole to get the jigsaw blade into place, and then slowly rotated the saw around using the crude jig.
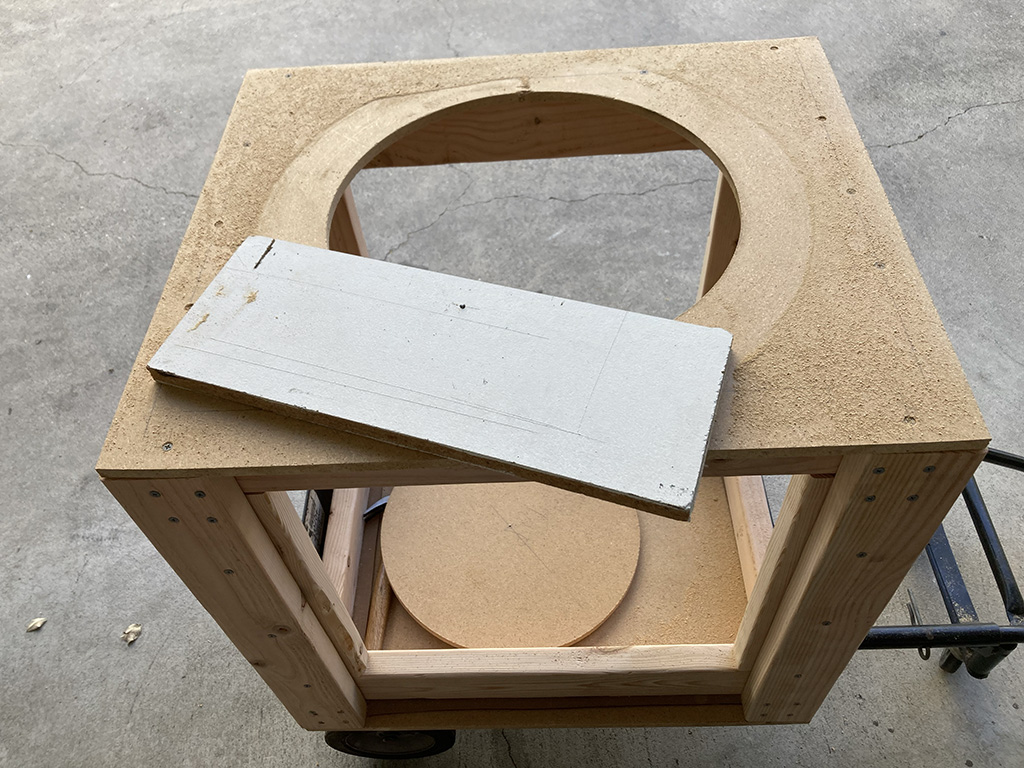
Honestly, I’m surprised it worked so well. I’d seen some “5-minute fix” style Instagram videos doing the same and doubted the method, but it did mostly work. I didn’t support the loose circle and it did pinch the saw blade toward the end of the cut, but I was able to reposition it and finish it without compromising the circle.
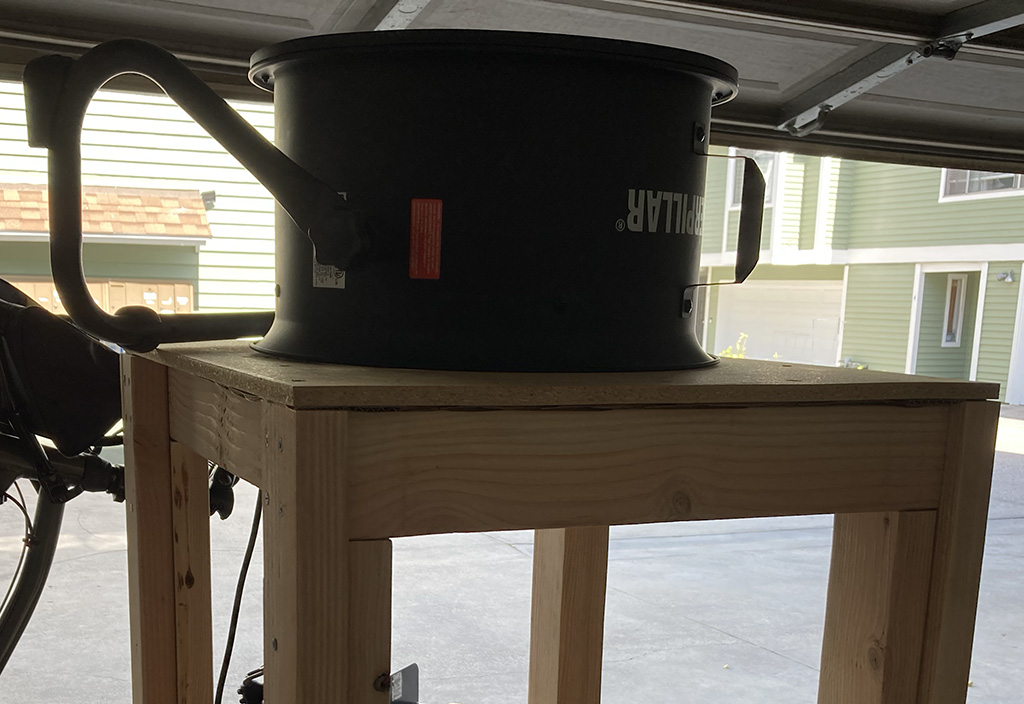
I brought the box back into my garage and set the fan over the hole to get an idea of fit and I was extremely pleased.
After being on my feet for most of the day and pushing my knee beyond where I should have pushed it, I left the finishing to another day. Since the filters are a nominal 20 inches on the short edge, but actually 19 5/8 inches, I need some finishing hardware. I think I’ll probably 3D print some simple clips, and maybe use some drawer liner material to frame where the filters will sit.