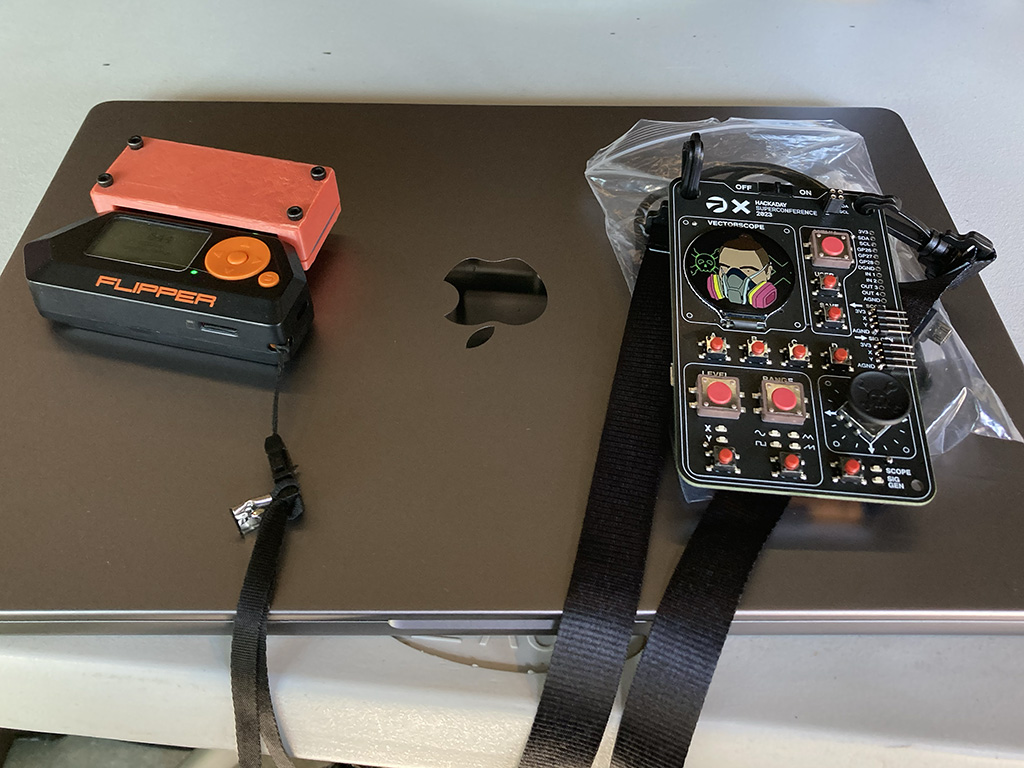
Hackaday Superconference 2023 – Day 1 – How do I JPEG?
First day of Hackaday Superconference 2023 down and I’ve had some time at home to tinker with the code on this year’s badge. The badge itself has some nifty analog-ish oscilloscope-like features that I’m sure I’d understand and enjoy more if I knew more about electrical engineering. However, I do know plenty to futz around with the cool round TFT display and buttons!

Since the Vectorscope repo hadn’t been updated at the time I received my badge, I had to poke around in Thonny to see what the code on the Raspberry Pi Pico actually looked like. There was a handy demo showing off the round screen with a slideshow of pictures of planets, so I copied that and made a conference version of my avatar:
![]()
Somehow, I got lucky when I saved the file, because I was having a ton of issues trying to display any other JPEG image I created for the badge. Once I got home, the Vectorscope repo had been updated with the latest code matching the badge and followed the trail from Vectorscope to the gc9a01_mpy display library where a helpful file shared the key:
#
# You can convert images to compatible jpg's by using ImageMagick's convert
# utility by specifying the output type as TrueColor. ImageMagick downloads
# are available from https://imagemagick.org/ for Linux, OSX, Windows and
# other operating systems.
#
# The wi-alien.svg icon is from https://github.com/erikflowers/weather-icons
# licensed under SIL OFL 1.1
#

convert wi-alien.svg -type TrueColor alien.jpg
From there, I made a slightly cleaner copy of the “planets” demo, gave it a nice spot on the main menu, and included both my avatar and QR code. Now I’m ready for day two!
