Indoor plant stand – design and build
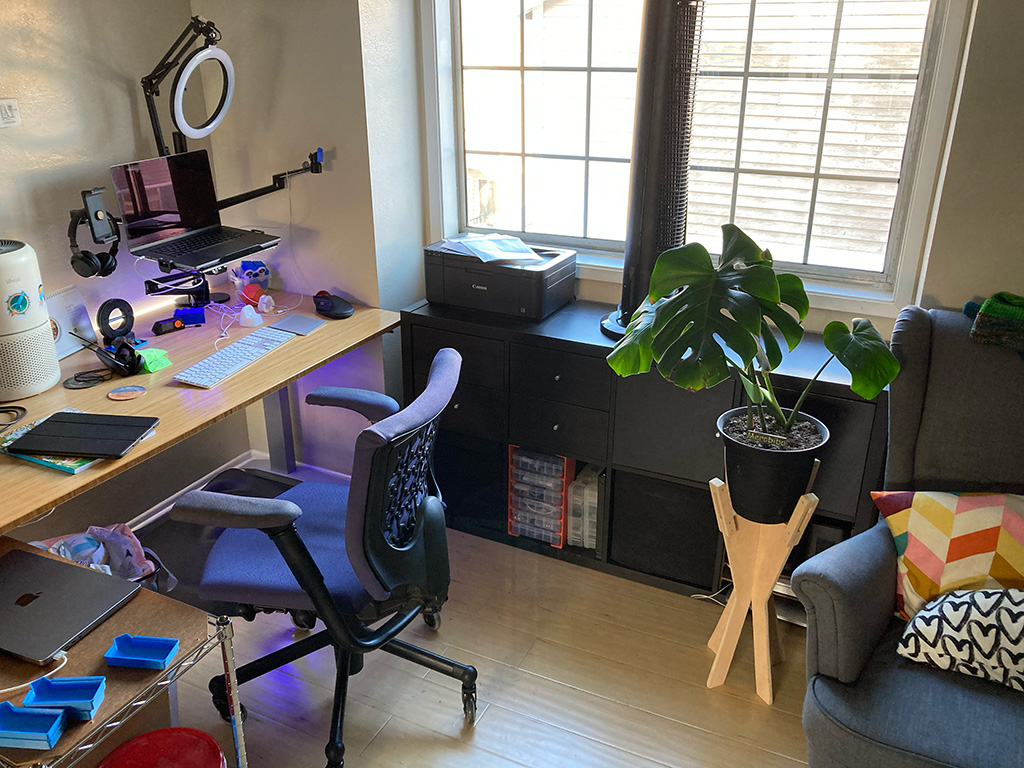
A couple of friends gifted a Monstera plant to Bonnie and me. We’re trying to get the hang of caring for plants, so we decided to give it a name and make it a nice stand to perch upon.
I did a little bit of searching for plant stand designs that I could build with the wood I had on-hand. I still had a nice partial sheet of 1/2” Baltic birch plywood that I really liked and wanted to use, so I played around with several options. The plant’s pot is 7” in diameter at the base and flares to 10 1/2” at the rim at a height of 8 1/2”. The plant and its soil aren’t very heavy, so weight wasn’t really a concern.
Because I really liked the plywood, my first design included plywood legs in a tripod configuration with the 1/2” ply clearly visible. However, this design didn’t take my lack of ability to make clean angled concave cuts from the plywood sheet, so I had to rethink the design. The braces were intended to be cut from a 2”x6” nominal board.
In my second design, I kept the essential elements from the first design, but changed the concave legs to instead be cut from a long strip and then require attachment. The braces didn’t align as nicely to the legs in this iteration, and trying to attach two pieces of 1/2” plywood on the edge is asking for problems with splitting.
In my third design, I simplified the legs further by moving them to attach on the flats of the triangular braces. Ultimately, this design would have been prone to stressing out each of the attachment points because there was very little in the design to compliment the strength of the attachments–whether screws, nails, or glue.

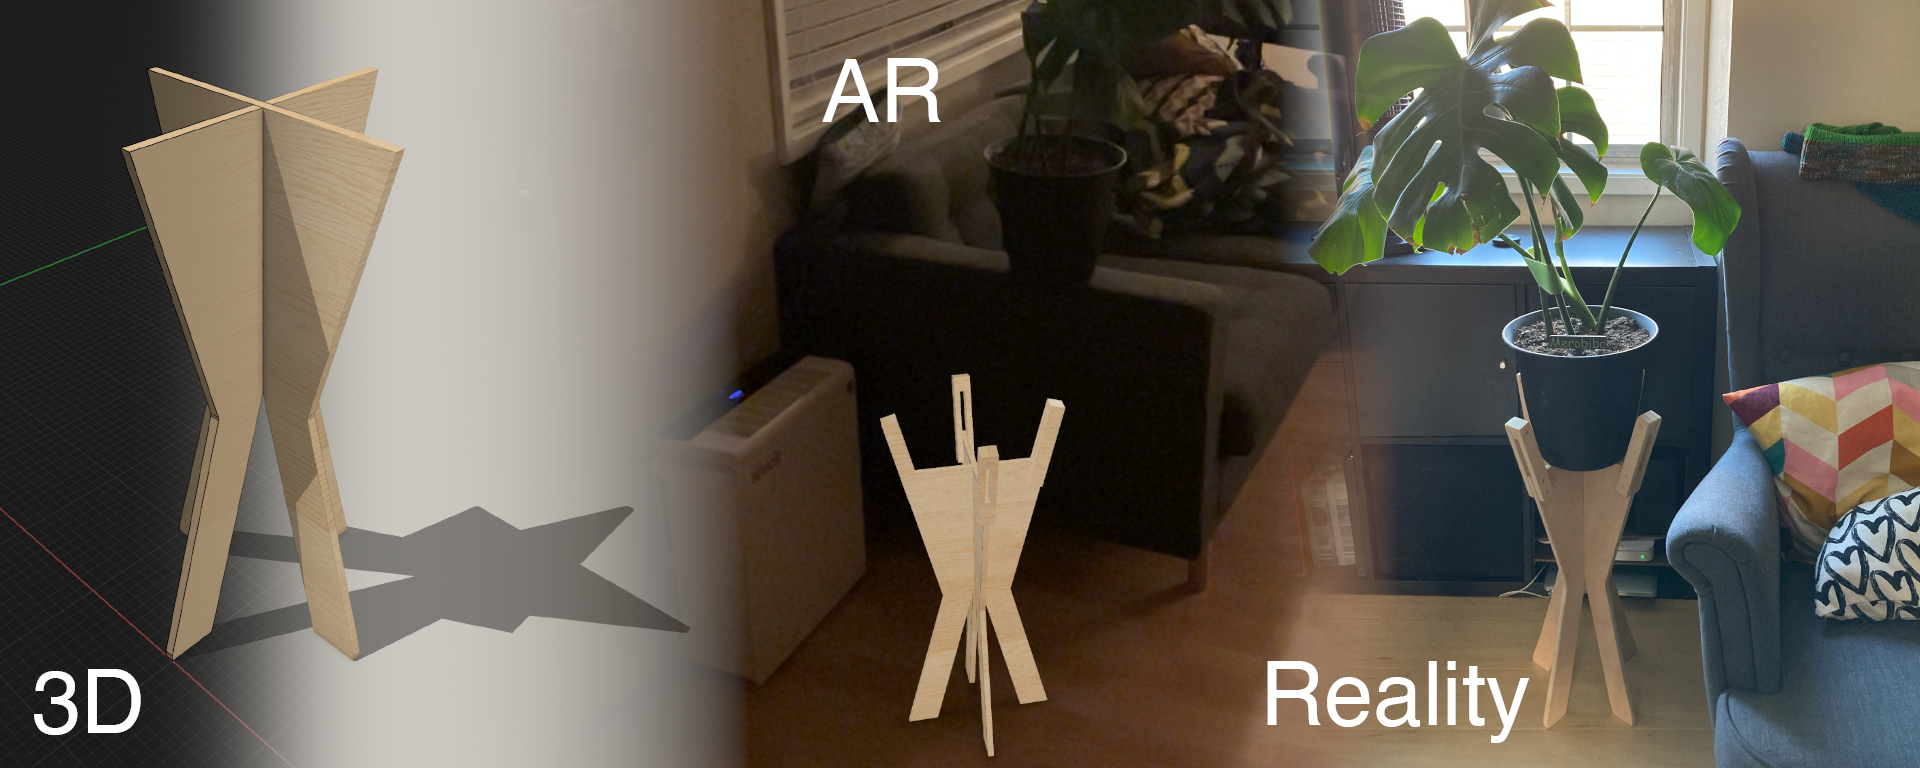
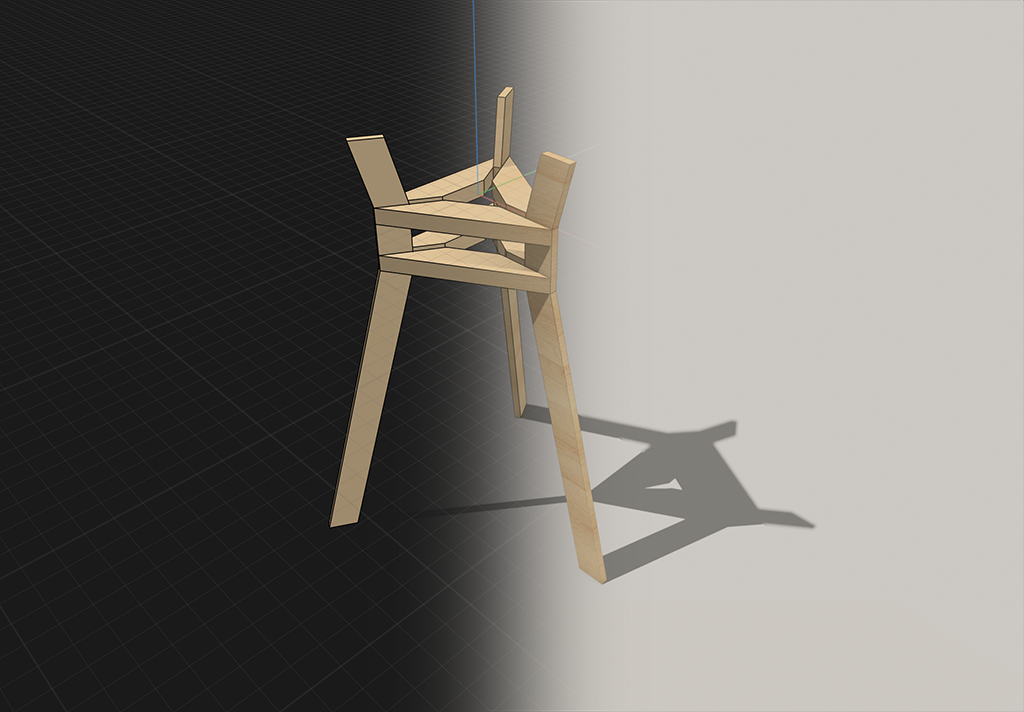
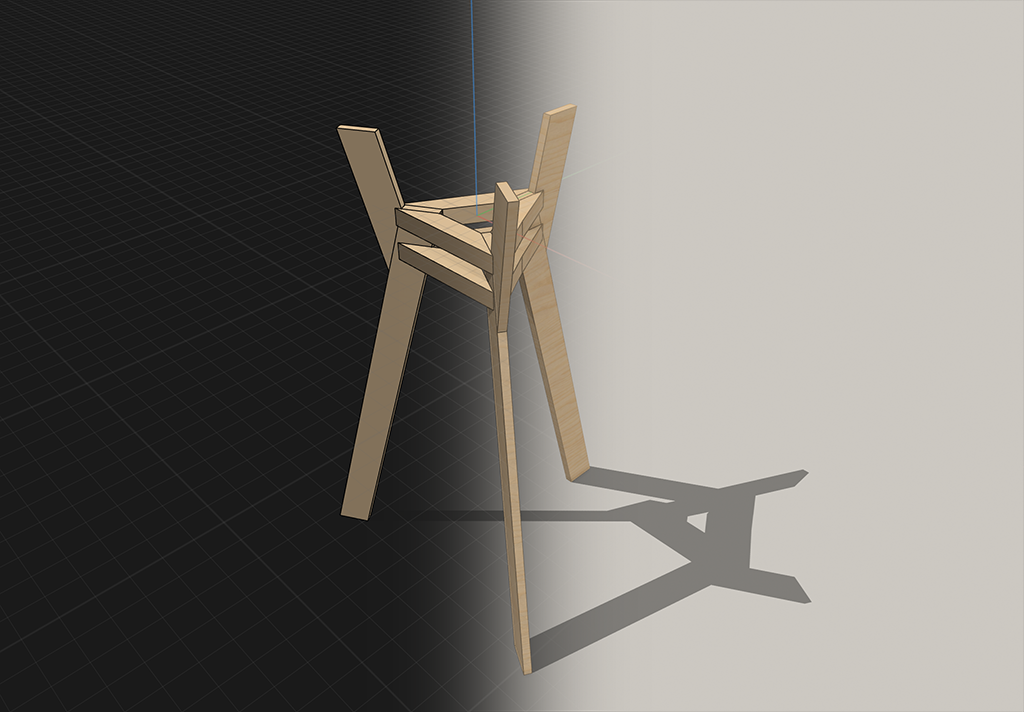
I decided to question my need for the triangular braces, and instead considered a four-legged design made from two intersecting sheets that formed a cross. This ended up being a far simpler design and paired much more easily with my developing skills and available tools. I fit the crossing members into two 10”x20” boards with four “arms” cut from 1” strips.
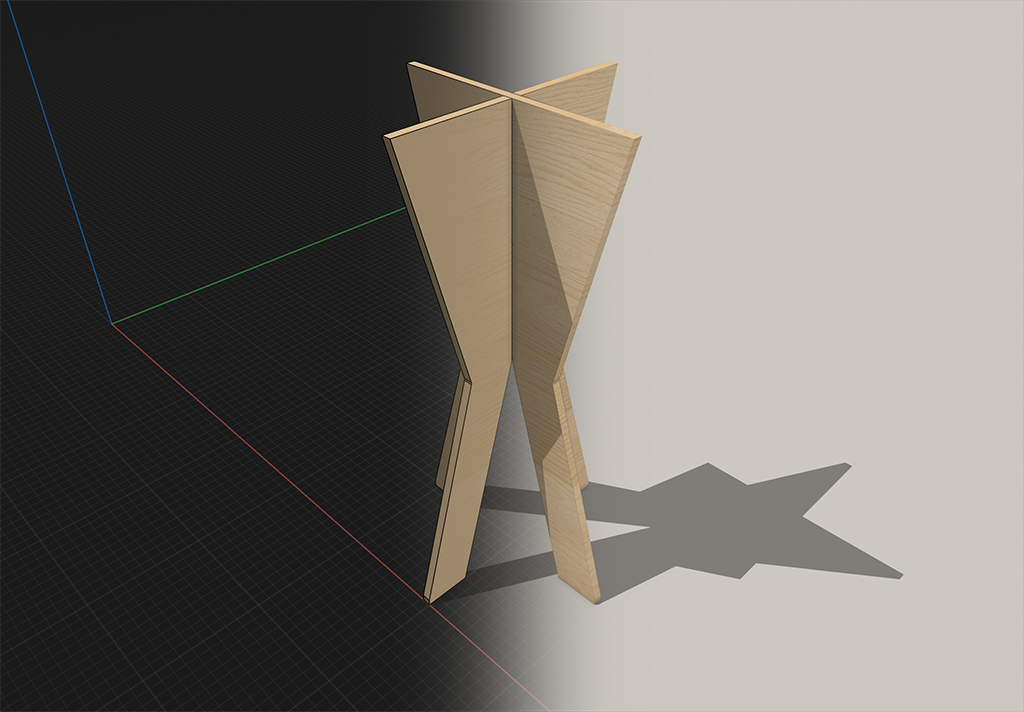
Since I don’t have great tools for measuring and working precise angles, I planned the measurements out in terms of relative distances. The legs split at the center of the 10”x20” board, the slots that the boards join at overlap by 5”, the outer angle of the legs is ~3” on each side from the center of the board, etc.
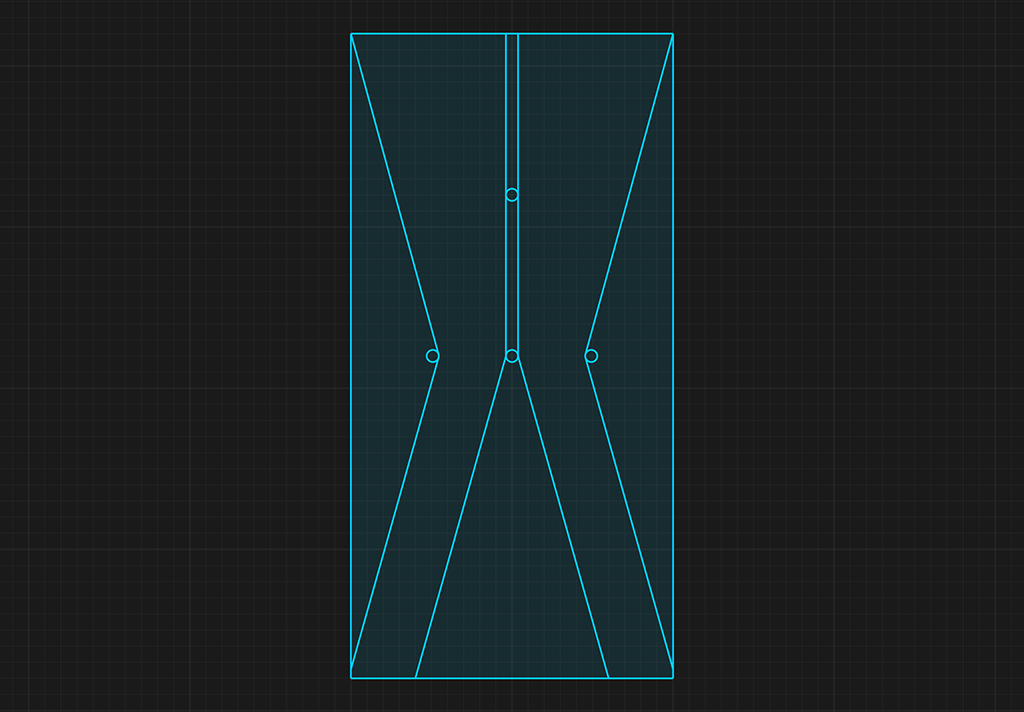
I decided to drill 1/2” holes at each of the angles to avoid sharp angles since I didn’t want to try to cut an inner angle with a 90° edge. Most of the cuts I did with my circular saw, but I did end up cutting the joining slots with my pullsaw. After several hours of cuts, I had two boards that joined as planned. I decided in the moment to drill a locking hole through the center of the intersection and glue a 1/2” dowel in place to keep the two boards locked together.

A week later, I came back to finish the arms, which was a series of well-planned cuts to make eight 1”x6” strips, plus four 1” square strips. With glue and screws and a whole lot of sanding, the arms came together as designed and show off the plywood like I’d hoped.
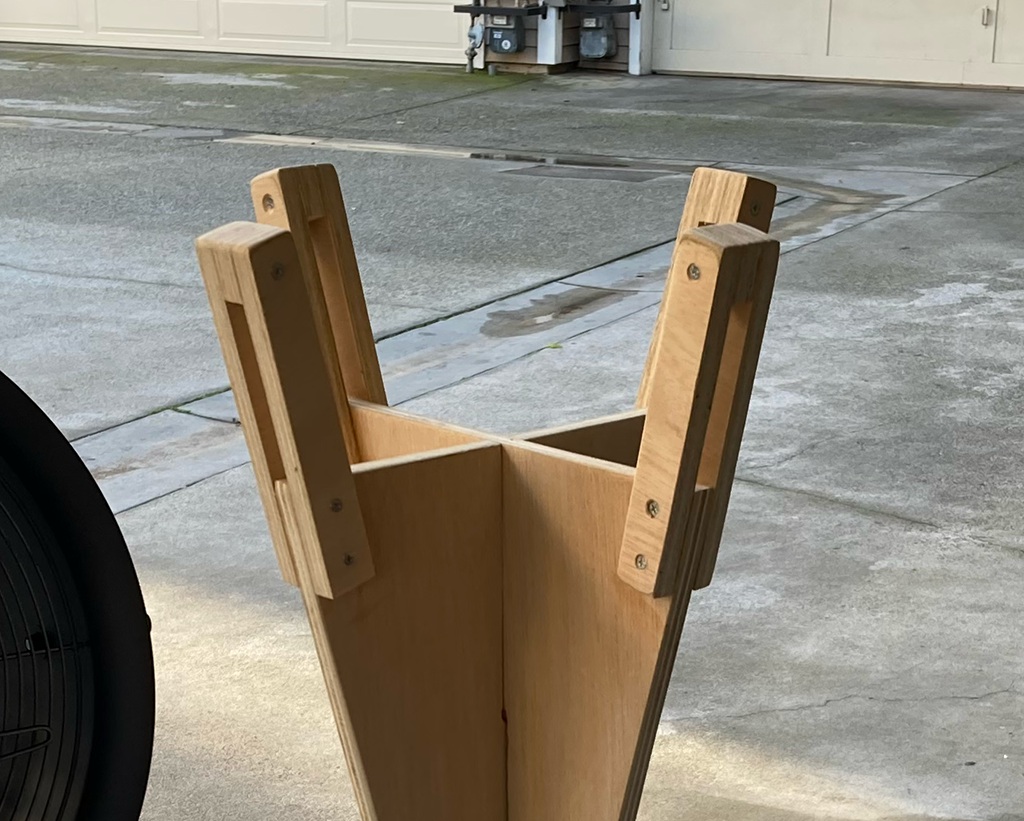
I’m super excited to have a small piece of furniture in my office that I designed and built! Now I need to keep the plant alive 😅