Making candles with 3D-printed molds
My wife has been enjoying making anise, cinnamon, and citrus water centerpieces with floating tea lights. They look pretty on the table and they smell nice without setting off my scent allergies. But after a few weeks, we started accumulating spent candles. I started to wonder if I could melt the leftovers down and make viable replacements… with my 3D printer.
It turned out to be, “of course, yes, people are already doing incredible things with 3D-printed molds.”
I set my ambitions quite a bit lower than Becky Stern, but her guidance through some of the molding gotchas was helpful. Because candle wax melts far below most 3D printer filament, I was free to choose from anything I had on hand: PLA and PETG for rigid molds or TPU for a flexible mold. I thought I’d be a little fancy and make a flexible cup mold that was roughly the diameter of tea lights.

The print failed multiple times with the feeder motor jamming up when trying to feed the rubbery rope-like TPU into the Bowden tube. I tried to adjust the printer a bit, but eventually gave up on it and changed the design to a rigid, three-part mold, which printed without issue in PLA.
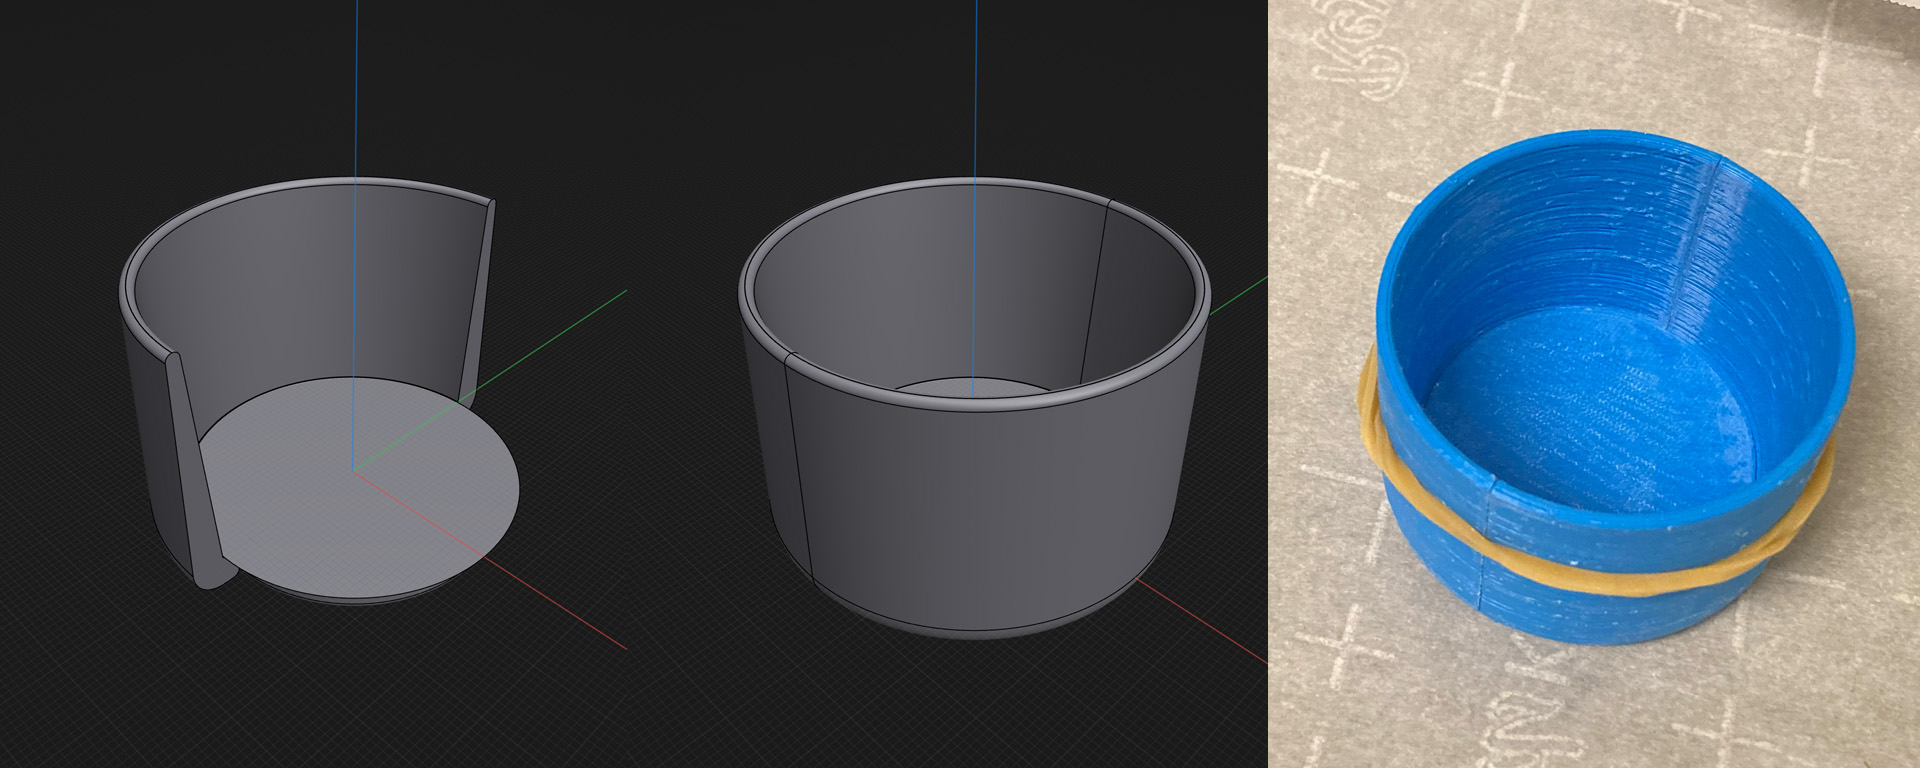
(Don’t judge my print too harshly: this is my lowest-quality PLA that I use for experiments like this 😅)
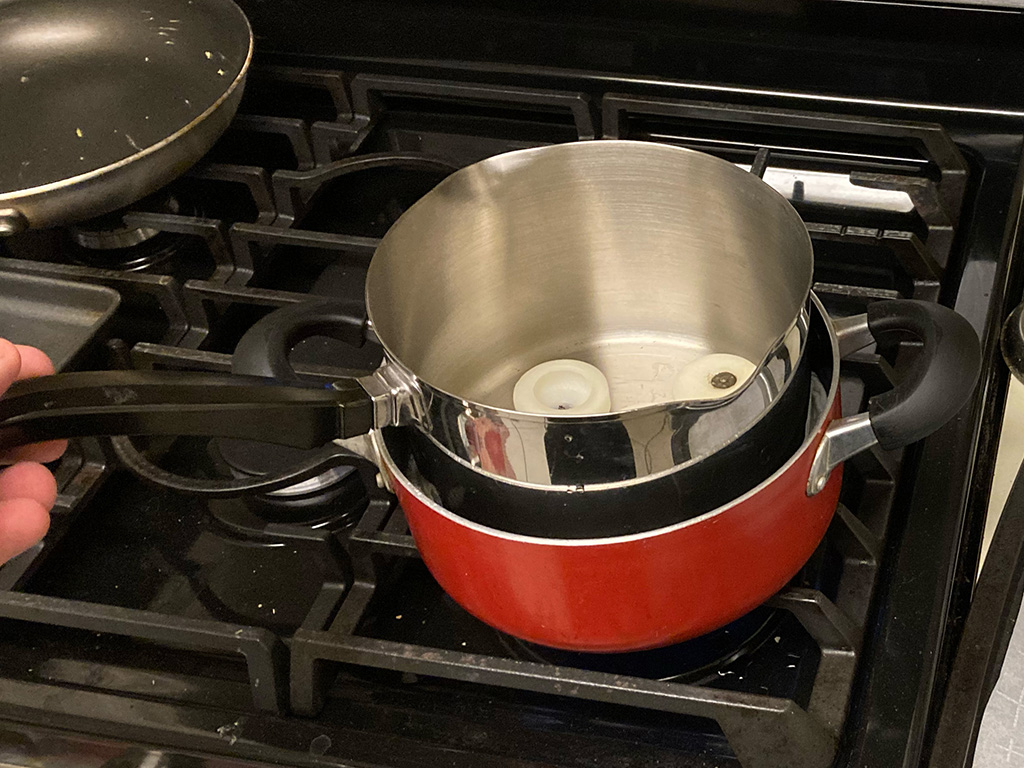
I needed a few supplies, so I went to my local craft store to see what candle making tools were available. I picked up some wicks and metal bases for reasonably cheap, but the pots for melting were too expensive to use for a silly project like this. I needed a double boiler setup, and I wanted some kind of pouring spout, so I went to Goodwill instead and found two perfect pots for $10. I brought them home, did a bit of Dremmeling on some very tough cooked-on stains, scoured them clean, and started using them.
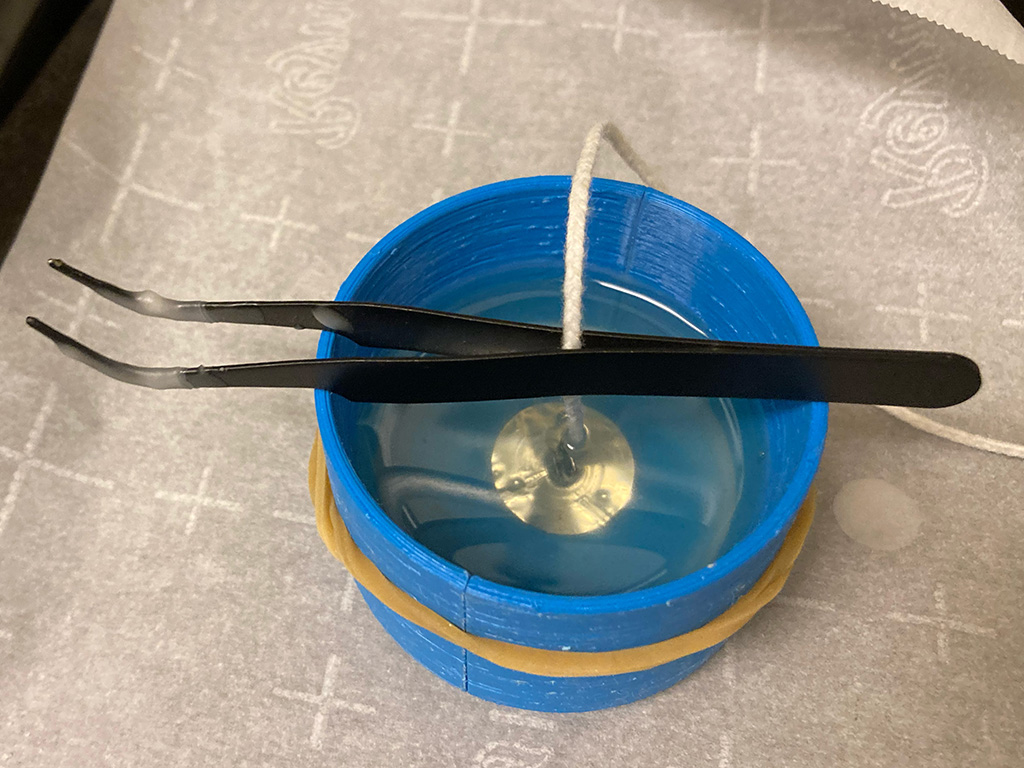
I crimped a base on to the end of a length of wick and set it up in the mold. After a few minutes of slowly melting the spent tea lights, I used a pair of tweezers to pluck out the old wicks and bases from the liquid. I ended up using the tweezers to hold the wick over the center of the mold as I poured the wax.
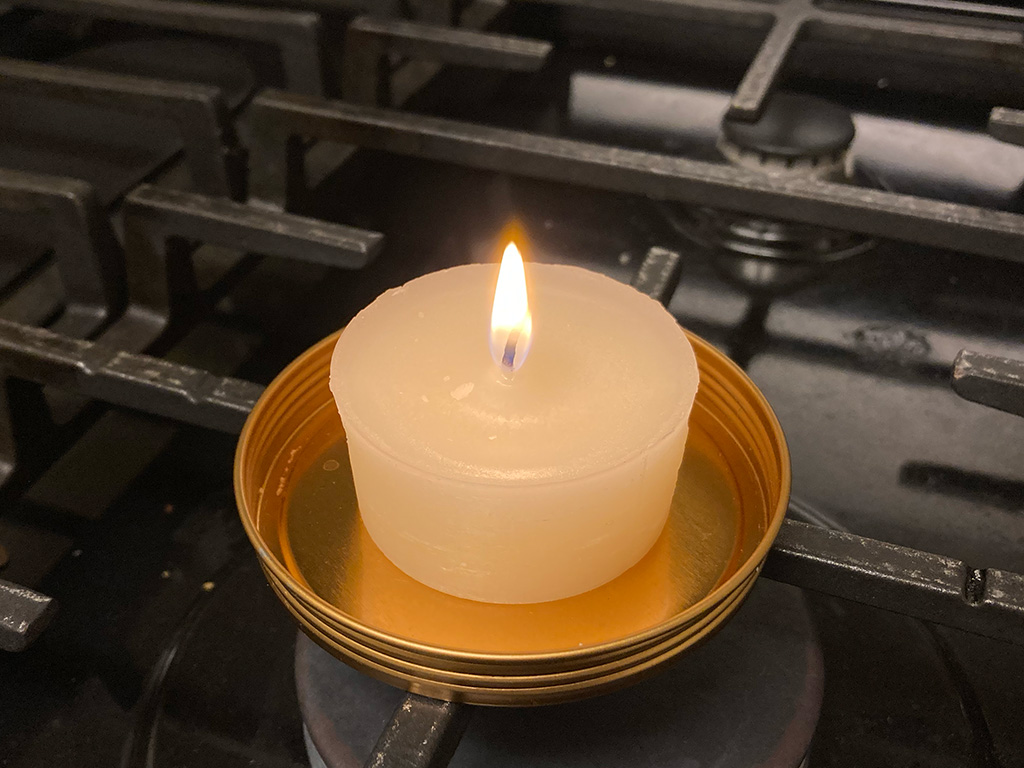
I had several spent candles, so I got “creative” and used the plastic container that the wick came in for a square mold. It worked very well! While I had a pot set up for double boiling, I also remelted and re-wicked a candle tin that had used up its wick. I had some leftover liquid wax, so I topped the tin off with that too.
This was definitely a fun foray into candle making and it felt nice to make use of something we might have otherwise thrown away.